Picture the Light in Your Life!
Showing posts with label Spellbinders. Show all posts

Thursday, September 16, 2021

Cute bear card!

Since I last posted, I resigned from a place I worked for over 20 years, moved 300 miles back to Syracuse and started a new job.  This whole time -- before the move and after -- I've been making cards but not posting.  Birthday cards, Valentines, Christmas cards, "just because" cards for friends.  Last Christmas and for Valentine's Day this year, I made over 200 cards for nursing home residents for each holiday.  I sent some to the place where my mom used to live, as well as giving some to a local non-profit that shared them locally.  It's nice to know that I can brighten the day of someone I don't know with something I colored/glittered/watercolored.

I watched a video by Natasha Foote, and she used square dies and a corner rounder she had on hand to mimic some of the newer dies that are available that cut 2 pointed corners and 2 rounded ones.  I used her basic design to create an A2 birthday card to add to my stash.  

It's a fairly straight-forward design and easy to adapt to make it cute like this or elegant with leafy/floral stamps and more muted colors.


The card also answers a challenge from Call Me Crafty Al to shop your stash and use dies never used before.  I've had the Spellbinders Classic Squares for FOREVER, but I hadn't actually used these little squares.  Sometimes it's nice to shop your stash! #SYSS2 #ShopYourStashSeptemberCMCA #SYSSCMCA 

Paper:  Doodlebug Custom Rainbow 6x6, DCWV Holographics Mat Stack, DCWV Fall Cardstock Stack, Accent Opaque Digital Smooth 100lb.

Dies: Spellbinders Classic Squares small and large, Catherine Pooler celebrate, Lawn Fawn Outside in Stitched rectangle stax

Stamps:  MFT Bitty Bears

Ink:  Versafine onyx

Tools:  EK Success corner rounder, Spellbinders Platinum 6


Sunday, April 14, 2013

Ribbon Framed Card


This is the first card I've made since 2010!  In the interim, I've worked a lot and spent a lot of time taking care of my mom, who is now in nursing care.  Because I've been away so long, I really wanted to have many layers and lots of glitter and stamping.  Then I got practical!  So, I started with something to challenge myself without getting too frustrated... and something I could send to my mom.  She loves mail! 

This card also answers a few challenges:
     365 Cards:  4-color challenge
     Cute Card Thursday:  Butterfly Kisses
     Flutter by Wednesdays:  butterfly or fairy
     Card Crafter's Circle:  die cut or dry embossing
     Card Mania:  punches or die cuts

After dusting off EVERYTHING and locating the cutting plates for my Grand Calibur, I started with the Spellbinders scalloped border.  I used tacky tape to keep the ribbon in place on the reverse side.

I used a reverse stenciling & embossing technique for the butterfly.  Dabbed on ink, taped the butterfly to the paper and embossed.  Then I positioned the image within the inside of the Spellbinders scalloped border and cut.

Close up after assembly, with pearls and bling.

Next up, a card for my father.  He's been complaining that he hasn't gotten any handmade cards in forever.  He's right, but that's gonna change!

Supplies:
Cardstock: The Paper Company
Stamps: Inkadinkadoo Personal Impressions - Expressions (sentiment)
Ink: Color Box pigment ink in Cyan
Dies: Spellbinders Butterflies Shapeabilities, Scalloped Edge Frame
Accessories: rhinestones, pearls, ribbon

Sunday, August 15, 2010

Heartfelt Flowers

When I was at the Creating Keepsakes Convention in July, I did a lot of window shopping and some SHOPPING shopping! One of my finds was a stamp set from Heartfelt Creations. They have several stamp sets that coordinate perfectly with Spellbinders. Here's a card I made using my new toys!

The card answers a few challenges:

Papertake Weekly: Something Old, Something New (old paper, new stamps!)

Allsorts: Paper piecing

Mark's Finest Papers: Think Flowers

Pile It On: Get into Shape. ***********BONUS********* Check out their blog for details on how to win a Limited Edition Workbox. It's a fantastic prize that can help you organize your crafting AND looks like premium furniture! There are several beautiful finishes and comes from the folks at The Original Scrapbox. You can also enter at this blog: Rachelle's Writing Spot. Now for details on the card! I used the largest and smallest stamps in the set to create a background paper. I used the smallest stamp to create the border on the base of the card.


I stamped the largest flower on orange paper and on ivory. The smallest flowers were stamped on ivory. Then I fussy cut or die cut them all, applied bling and layered with pop dots. Here's a shot to show some of the dimension.

Thanks for looking and please leave a comment!


Cardstock: The Paper Company

Ink: Colorbox Fluid Chalk dark brown, Whispers butterscotch and orange

Stamps: Heartfelt Creations Sunburst Flowers 2

Dies: Spellbinders Dahlia

Accessories: rhinestones, pop dots

Wednesday, July 21, 2010

Birthday Card for Cliffington

I have a great friend who deserves a great birthday card, and I was inspired by something I saw on the Spellbinders blog. I put this together and tore it apart three times before I was happy with it. You know how carpenters measure twice and cut once? Let's just say I'll try to dry fit a lot and glue just once next time!

I've been working on this on and off for a while, and I'm glad I'm finished! In addition to being a card for a special guy, the card actually answers a few challenges:
Caardvarks: Birthday
Practical Scrappers: Use supplies you've had more than a year. Hmmm... I think only the broze ink is new!

The card is dimensional, with the medallion raised on pop dots. And it's actually part of the inside of the card. Here's the card open:

It's not a typical card , I'm going to write in atypical circles in the border. Here's a closeup of the medallion. The sentiment is from JustRite, and while hard to see here, I sprayed the Fleur de lis die cuts with gold glimmer mist.

Another angle shows some of the dimension. I used a geometric stamp and clear embossing powder to create more texture on the blue cardstock.

I used a lot of Spellbinders dies for this card. It didn't seem like this many when I was cutting things out! These cut the parts for the front and the window.

I used these dies for the inside.

Here's a look at stamp I used and the image it makes. Blurry, yes! It's not just the picture. I blurred the image when I stamped it, which is why I stamped it again for my project. But I really like the design to create background papers. This stamp is great on gold paper for elegant holiday projects.
Thanks for looking, and I'd appreciate a comment!
Supplies:
Cardstock: The Paper Company, DCWV
Stamps: Just Rite (Just a Note Set), Autumn Leaves (Block Stamps 2), Holly Berry House
Ink: Versamark, Colorbox bronze pigment, Colorbox French blue chalk ink
Dies: Spellbinders Doodle Parts, Scalloped Octagons large, Octagons large and small, Fleur de lis pendant, classic scalloped circles small
Accessories: clear embossing powder, 1/16" and 1/8" pop dots, gold glimmer mist, copper pearls (Queen & Co.), rhinestones, Zig glue

Wednesday, June 2, 2010

Easy elegance

Don'tcha just love it when a card comes together quickly and looks great?!?
This card is uses the center of the Spellbinders fleur de lis pendant and the Victorian embossing folder from Cuttlebug. Emboss, round corners, stamp sentiment and punch, die cut red metallic and cream cardstock, assemble... and done!
This answers several challenges:

Meljen Designs: silver and gold
Just Us Girls: dry embossing
Cute Card Thursday: no designer paper
Stampin for the Weekend: make someone smile
Crafty Creations: black, white and red
It was hard to photograph the metallic red paper. It is really a fire engine metallic red. I used pop dots to create some dimension.

Here's another closer look. This medallion is created with two white cardstock die cuts and one red metallic.

Supplies:
Cardstock: The Paper Company
Paper: Canford gold
Dies/embossing: Spellbinders fleur de lis, Cuttlebug Victorian embossing folder
Stamp: Studio G
Ink: Stazon black
Accessories: pop dots, corner rounder, 3/4 inch circle punch

Wednesday, May 19, 2010

Pink Birthday

UPDATE: I'm so proud that this card was chosen as one of the Top 5 in the Cupcake Inspiration Challenge at Hope Stamps Eternal. Click here to see the other fabulous creations!

Here's a fun card for my boyfriend's daughter. She went to prom last weekend and she's graduating from high school in June. She's getting ready for college in the fall, but first, she celebrates her 18th birthday in just a few days. She's a girly girl who loves pink and purple, so this is just her style.
To keep the tension, I tied the clips together with narrow ribbon behind the main image, which is colored with watercolor pencils. The colors were blended with damped cotton swabs.

This layered card answers several challenges:

Pile It On: photo inspiration
Secret Crafter: Metal
Stampin Moments: scallops
Hope Stamps Eternal: cupcake inspiration
Spoon Full of Sugar: Cute and girly
Stamp Something: Celebrate something
ABC: U is for Unused Stash (swirly stamp)
KL Stampin and Scrappin: Animals
Stampavie: pink
Gingersnap Creations: pencils
Practical Scrappers: patterned papers

My point of departure for the design comes from 2 Sketches 4 You.

Here's a better look at the layering and the embossing.

I have only recently started using clear embossing powder. Love it! Plus, there are fewer problems with stray specks, which can be an issue when using colored embossing powders.

Supplies:
Cardstock: The Paper Company
Paper: Tinted Medallions, reverse of Drooping Vines (Rose Colored Glasses Collections -GCD), Dennison sketchbook/watercolor paper, gold Canford
Stamp: Hearts Away (Penny Black), So Swirly Stampin’ Around Wheel (SU)
Ink: Stazon black, VersaMark
Accessories: Staedtler watercolor pencils, clear embossing powder (Stampendous), pop dots, curly paper clips, ribbon, rhinestones

Friday, May 14, 2010

Fly!

This is a card for a colleague who is leaving our company. She's taking her life in a whole new direction. Thus, the butterfly and the simple "Fly" sentiment.

The card answers several challenges:
Paper Play: Brown and...
Cricut Cardz: 3 circles
Stampavie: Pink
Totally Gorjuss: pink and green
ABC: U is for unused stash
Sentimental Sundays: For someone special
Cute Card Thursday: someone special
Incy Wincy: Color Challenge
Stamp Something: Celebrate Something
Fab N Funky: metal or metallic
The card design is based on the sketch from Truly Scrumptious:


The butterfly is reverse stenciled. The medallion is lifted on pop dots. Two colors of cardstock are punched and offset behind the sentiment.


This is the first time I've used Mays silk ribbon on a card. It's SO nice to work with! It's not available to me locally, so I ordered it from Sharon Johnson's Stamp Simply Ribbon store online. She has TONS of ribbon in all kinds of colors, but I started with some I knew I'd use: cream, black, and burgundy. I'm sure you'll see more ribboned-up cards soon!

Thanks for stopping by! Please leave a comment and let me know what you think.

Supplies:
Cardstock: The Paper Company
Paper: 3 Birds, Autumn Leaves C’Est Pink
Stamps: JustRite New Times Roman lower case
Ink: Color Box pigment ink in magenta
Accessories: EKSuccess Circle Scissor, Spellbinders Circles, Scalloped Circles and Butterflies, Martha Stewart medallion punch, EK Success ¾ inch circle punch, silk ribbon, pop dots, glue dots

Wednesday, May 5, 2010

Anniversary Butterfly Card

I would love your comments on today's card! It uses die cuts, reverse stenciling and a combination of a several challenges:

Practical Scrappers: Stickers
365 Cards: The 3 A's (alpha stickers, arc, anniversary)
Pile It On: boyish colors
Paper Play Challenges: Pastels
Creative Cottage: Circles
Cute Card Thursday: Make Your Own
The Shabby Tea Room: Bling
Tellen's Place: butterflies or dragonflies
Flutter by Wednesdays: open but must have fairy, angel or butterfly

The card is based on the sketch at Papertake Weekly:

To create the butterfly, I reverse stenciled. I inked the butterfly Spellbinder then embossed it onto my white cardstock. Then I centered it in the circle Nestability and cut.

I've had these border stickers for years and I think I used them once before. The border is very flexible so I used it along the outside of the die cut circle underneath the embossed butterfly. This golden border is actually tiny butterflies but looks ends up looking like a scroll in the finished product.


Here's one close up view.

Here, it's easy to see the dimension of the embossing and how the reverse stenciling really outlines the butterfly.

Another angle showing layers of the card:

Thanks for looking! Please leave a comment to let me know what you think.

Supplies:
Cardstock: The Paper Company
Paper: DCWV
Stamps: Fiskars Round of Applause (sentiment)
Ink: Color Box Chalk ink in Ice Blue, Stazon black
Dies: Spellbinders Butterflies Shapeabilities, Circle Nestabilities Small, Curved Rectangles Mega Nestabilities, Fancy Tags

Accessories: Queen & Co pearls in Brilliant Blue, golden border stickers, sheer ribbon, pop dots

Monday, April 26, 2010

Birthday Blues

I'm never blue about my birthday because it means cake and presents. But this CARD features several shades of blue. The card is based on this Flourishes Timeless Tuesdays sketch, which I turned sideways:
The card also incorporates design challenges from some other sites:
Caardvarks: Monochromatic cards
Raise the Bar: Favorite color
Secret Crafter: distressing
A Spoonful of Sugar: birthday

I love blue, teal and purple. I guess you could say my favorite color depends on my mood.
Here are some closer looks.
HINT for bling word stickers: Cover the whole word with clear low tack tape then lift from the sticker backing. Then you can position the word as you like without losing the shape!

The numbers were embossed with a Cuttlebug folder and then sanded. I used Core'Dinations cardstock that has a lighter blue core. I think it's much easier to sand and expose a different color than to ink so much real estate on a card.
I created the medallion by cutting and embossing with Nestabilities circles then decorating the top and bottom with an EK Success border punch. Then I backed the punched area with coordinating cardstock.

Supplies:
Cardstock: DCWV, Core'Dinations, The Paper Company
Dies/Embossing: Spellbinders circles, Cuttlebug Numbers
Accessories: EK Success Scroll & Dots punch, emery boards for distressing, Studio 18 rhinestone word, pop dots

Tuesday, April 20, 2010

Black, white and bling

The JustRite Stampers Double Vision challenge asks us to use at least 2 different Spellbinders shapes AND stamps from at least 2 different JustRite sets on one project. I came up with this thank you card. I used three Spellbinders dies and a JustRite border for the medallion plus a JR font for the sentiment. There is a column of small rhinestones to the right of the ribbon.I also incorporated some challenges from sites I found last week during the Practical Scrappers blog hop. There's one called Pile It On that challenges you to put several challenges together on one project. I think the record is 31 challenges represented at once! This card doesn't actually fulfill this week's Pile It On challenge, but some of the other ones I found by following, following, following links!

Practical Scrappers: floss, fibers and ribbons
Stamp Something: layers
Stamping Vacation: pick 3 (black, white & one other color, dry embossing, make it glitter)
The ABC Challenge: Sparkle
Creative Belli Blog: die cuts
The card design is based on Laura's Sketch 50 at 2Sketches4You shown below.

Here's a close up of the card detail. It's hard to see the dimension in this picture, but the black die cut on the top layer is raised on pop dots.


Supplies:
Cardstock: The Paper Company, K & Company
Stamps: JustRite border from 2 inch deluxe monogram kit, Times New Roman 15 point font
Ink: Stazon black
Dies: Spellbinders labels one, Fleur de Lis pendant middle, fancy tags
Accessories: pop dots, rhinestones, ribbon

Thursday, April 15, 2010

Embossing + Bling = Fun!

UPDATE: This card was chosen as one of the top submissions at Practical Scrappers for the bling challenge! You can click here to see the other wonderful designs.

Today's card has no stamping and uses just designer paper, cardstock, Spellbinders dies and some colored rhinestones. I was looking around Splitcoaststampers today and found a tutorial for making an embossed medallion with Spellbinders Nestabilities. So I thought I'd try it out to make a challenge card.

This project works for the squares challenge at The Shabby Tea Room, the die cut challenge at Creative Belli Blog, and the bling challenges that are part of the bloghop at Practical Scrappers and The Cuttlebug Spot. The color scheme comes from The Play Date Cafe: black and white with a pop of color. Here's the color inspiration.


Here's a closer look at the embossing. It's done by nesting Spellbinders together using low-tack tape and embossing them all in one pass.

I have several sets of Spellbinders, so I know I will experiment some more with this. Using different dies together can create a completely different look. Circles will work as well as shapes. Maybe I'll put a butterfly in the middle and bling it up for next time!
Supplies:
Cardstock: The Paper Company
Paper: K & Company
Dies: Spellbinders Classic Scalloped Squares Small, Labels One, Fleur de lis pendant set, Fancy Tags
Accessories: colored rhinestones

Tuesday, April 6, 2010

Color Challenge

This is a color challenge from The Play Date Cafe. The colors to be used were light and royal blue with white or off-white. I created the background paper by stamping tone-on-tone using a JustRite border. This challenge is closed now, but a new one is posted every Thursday morning at midnight.

JustRite Stampers is having an ANYTHING GOES Challenge this week. Layouts, cards, home decor. Make whatever your little heart desires featuring JustRite products and link up by 9am on Thursday, April 8.

Supplies:
Cardstock: The Paper Company
Stamps: JustRite
Ink: Whispers Blue, Azure Seas, Royal Blue (Whispers)
Dies: Spellbinders Classic Circles Small
Accessories: Fiskars punch, pop dots, lace

Sunday, April 4, 2010

Birthday Bling -

This is a birthday card based on the 2 Sketches 4 You challenge 49. The above picture shows the detail. The whole card is shown below.

Using sketches makes card making so much easier. It can take one step out of the process. Choosing colors, textures and embellishments is still hard work. ;)

Supplies:
Cardstock: The Paper Company
Paper: Michaels
Stamp: Studio G
Ink: Stazon black
Dies: Spellbinders Fancy Tags, Cuttlebug Herringbone embossing folder
Accessories: rhinestones, ribbon

Challenge Card - Lace Heart


Here's another card here for the Lacy Days challenge at Caardvarks. It's a fairly straight forward card, but it marks the first time I used Zip Dry. I've heard about it for years but never could find it in my local craft stores. I picked up a bottle when I was 400 miles away, and now I seem to find it everywhere locally. Go figure! But it worked so well to attach the lace to the paper heart.

Supplies:
Cardstock: The Paper Company, Basic Grey
Paper: Canford gold
Stamp: JustRite
Ink: Stazon black
Dies: Sizzix Lace Heart Frame, Spellbinders Labels One
Accessories: lace, pop dots, rhinestone

Saturday, April 3, 2010

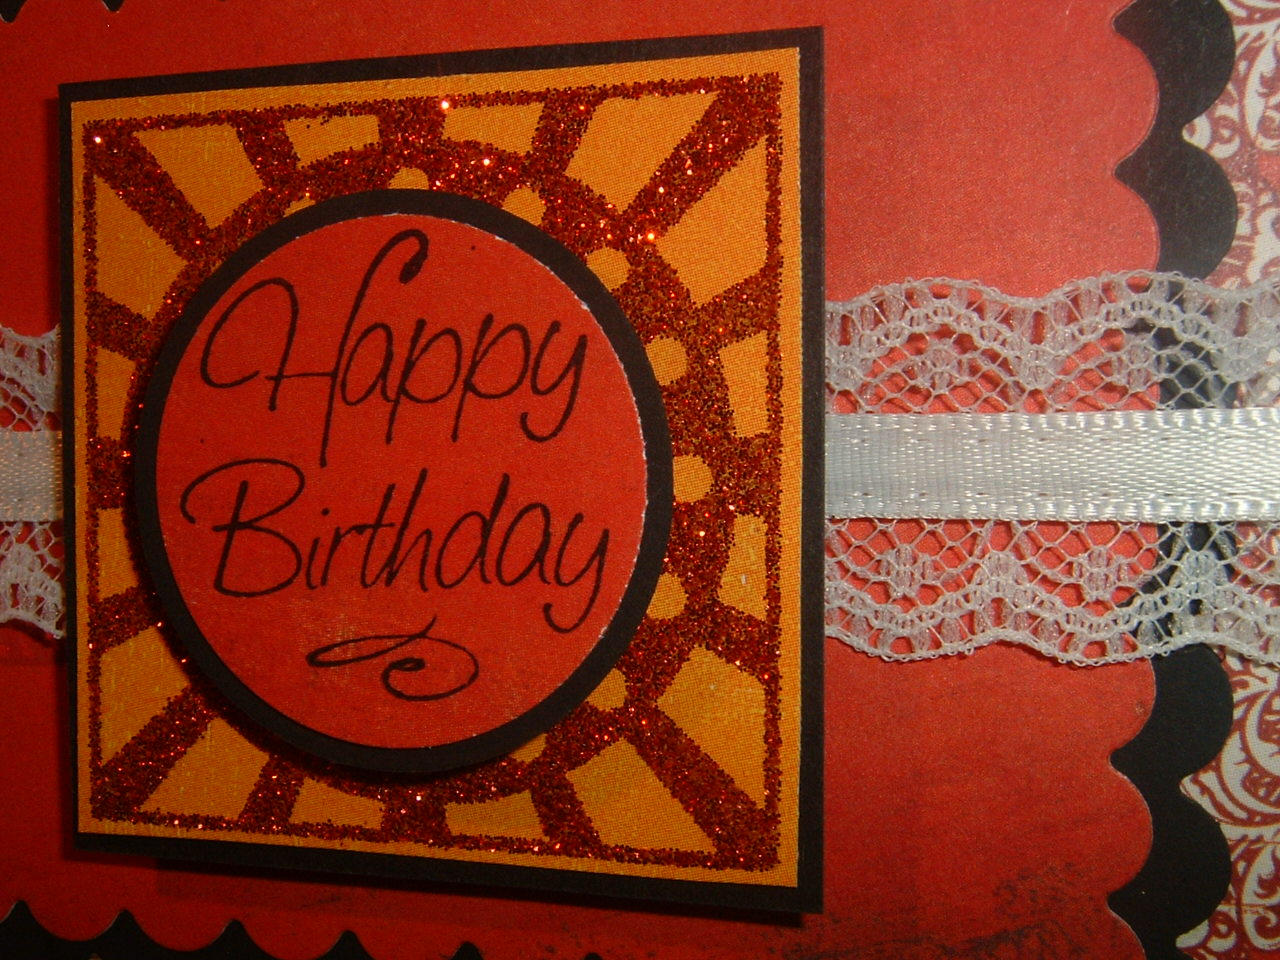
Challenge Card - Lacey Happy Birthday

This is another challenge card. I usually don't use lace, but it adds femininity to a card that could otherwise be unisex.

The rub on is an adhesive rub on. These are fun because you can use glitter or foiling to make the rub on coordinate perfectly with your project. I used Martha Stewart glitter on my rub on here.

I had a little trouble getting the glitter and dimension to show up in the pictures. So here's a different view and a close up of the glittered rub on.

One of my very best friends has a birthday coming up this summer. When I started designing this card, I thought it would be perfect for her. So, I am ahead of the game... as long as I remember to mail it in time!

Supplies:
Stamp: Just Rite
Ink: Stazon Black
Cardstock: Basic Grey, Paper Company
Dies: Spellbinders scalloped rectangles large & small
Accessories: Adhesive rub on, Martha Stewart glitter, lace, pop dots